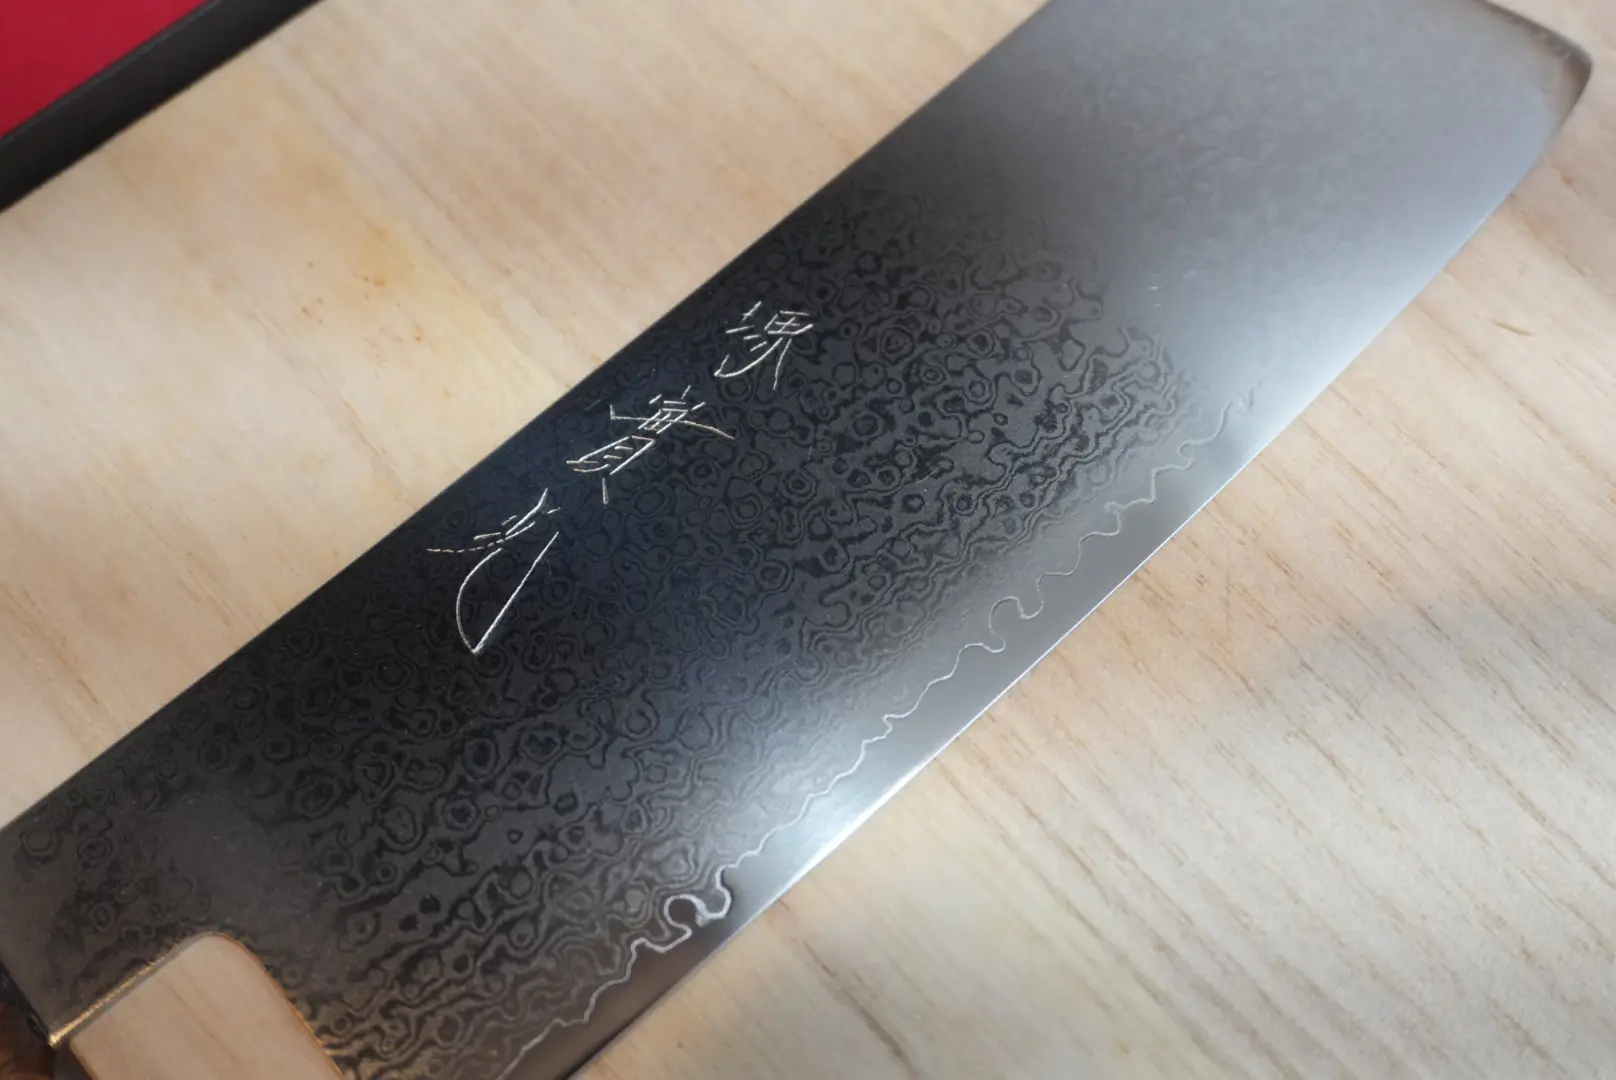
A nakiri is used with straight up-and-down push cuts, never a rocking motion. Hold it with a pinch grip, keep your wrist level so the flat edge lands flush on the board, and let the thin blade fall through the food. Master those three things and a nakiri will out-cut any chef’s knife on vegetables — this guide covers the technique, with video from the nakiri we use daily.
Watch First: The Push Cut in Action
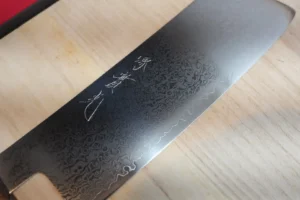
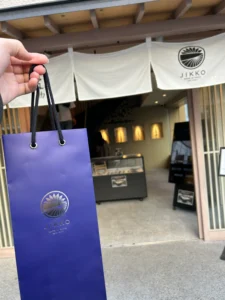
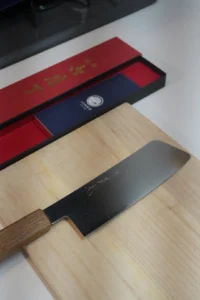
That’s our own JIKKO Damascus nakiri — bought at the Kappabashi store in Tokyo — going through potatoes. Notice what the blade is not doing: no rocking, no sawing, no tip planted on the board. Straight down, lift, move, repeat. Everything below builds on that one motion.
How to Hold a Nakiri Knife
Use the pinch grip: pinch the blade itself between your thumb and the side of your index finger, just in front of the handle, and wrap your remaining three fingers around the handle. It feels odd for the first ten minutes and then permanently better — you’re holding the blade, so the blade goes exactly where your hand goes.
Your other hand does the guiding. Curl your fingertips under into the claw grip so the first knuckles face the blade. The nakiri’s tall, flat face rides against those knuckles between cuts — that contact is your thickness gauge, and it’s why a nakiri produces such even slices once the claw becomes habit.
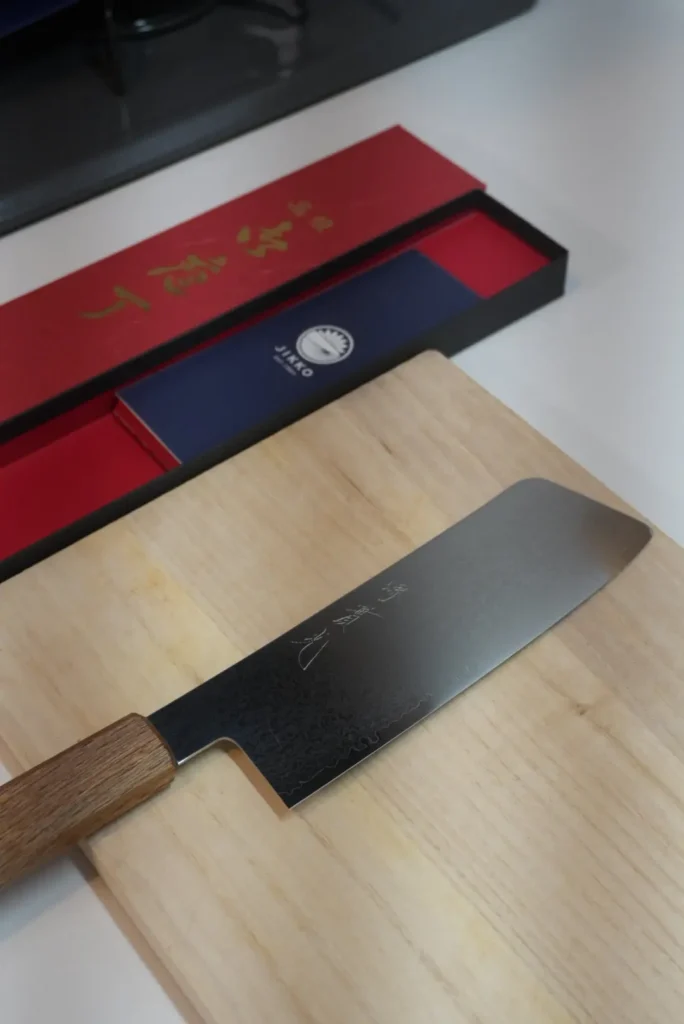
The Core Technique: Push Cuts, Step by Step
- Set your stance. Stand square to the board, knife hand relaxed. Board at hip height, on a damp towel so it cannot slide.
- Start with the blade level. Keep your wrist neutral so the entire edge — heel to tip — is parallel to the board. The nakiri has no curved belly to pivot on; a tilted wrist leaves one end of the cut unfinished.
- Push straight down and slightly forward. The cut is one motion: down with a small forward push, through the food, edge landing flush on the board. Don’t chop from height and don’t saw — the thin blade does the work.
- Lift, step your guide hand back, repeat. The claw hand retreats one slice-width at a time; the blade returns to your knuckles. Rhythm beats speed — the evenness is the point.
- Scoop with the flat. Done cutting? Tip the blade over and use the wide face as a bench scraper to carry everything to the pan. With a nakiri you get this for free — spine-side, so you don’t dull the edge on the board.
Technique by Vegetable
| Vegetable | How the nakiri handles it |
|---|---|
| Onions | Straight down through the layers — no rocking means no crushed layers and noticeably less tear-inducing spray. |
| Cabbage | The tall blade tracks straight through a whole head where a shorter knife wanders. For chiffonade, roll the leaves and push-cut. |
| Carrots & root vegetables | Straight down with the guide hand pressing the vegetable firmly. No twisting — thin blades chip when pried sideways. |
| Potatoes | As in the video: the thin grind glides through dense flesh with far less wedging than a thick-spined chef’s knife. |
| Herbs | Gather, claw grip, and run fast light push cuts. The flat edge cuts clean instead of bruising — basil stays green longer. |
| Winter squash | The one to respect: use the heel, push straight down, never lever. For very large kabocha or butternut, microwave 2–3 minutes first to soften the skin. |
5 Mistakes That Ruin a Nakiri (or Your Cuts)
- Rocking like a chef’s knife. There’s no belly to rock on — you’ll leave uncut hinges at the ends and wear the edge unevenly.
- Twisting to pop cuts apart. Sideways leverage is how thin Japanese edges chip. Cut through; don’t pry.
- Using it on the wrong food. No bones, no frozen food, no crusty bread, no whole squash stems. It’s a vegetable specialist — that’s why it’s so good at vegetables.
- Glass or stone cutting boards. Wood or soft plastic only. Hard boards blunt a fine Japanese edge in a single session.
- The dishwasher. Detergent and heat kill the edge and the handle. Hand-wash, dry immediately — that’s the entire care routine.
Keeping the Edge
A nakiri rewards a simple routine: strop or hone lightly before big prep sessions, and sharpen on a whetstone when tomatoes start needing pressure — with home use that’s every 2–3 months. Use a 1,000-grit stone to reset the edge and 3,000+ to polish, holding 15–17° per side. Skip pull-through sharpeners; they tear out the thin Japanese edge geometry. (A full whetstone guide is coming — it’s next on our list.)
Don’t Have a Nakiri Yet?
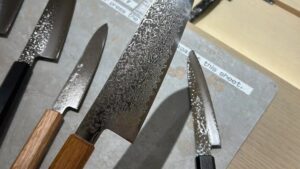
Everything above works on any nakiri, but the knife matters. Our full rankings are in the Best Nakiri Knife guide — the short version: the Tojiro DP (~$99) is the most affordable genuinely Japanese blade, and the JIKKO Damascus in the video above (our hands-on review) is the one we cook with daily.
Buy from a US Knife Specialist
If the technique above has convinced you to upgrade from a supermarket nakiri, Bernal Cutlery in San Francisco stocks Japanese-forged nakiri from around $50, ships from US stock, and sharpens what they sell.
Frequently Asked Questions
- Do you rock or chop with a nakiri knife?
-
Chop — straight up-and-down push cuts. The nakiri’s edge is flat, so there is no curve to rock on. Rocking leaves the ends of the cut unfinished and wears the edge unevenly.
- Can beginners use a nakiri knife?
-
Yes — it’s arguably the easiest Japanese knife to learn. The push cut is one simple motion, the flat edge gives instant feedback when your wrist tilts, and the blunt square tip removes the most common accident point.
- Can I use a nakiri knife for meat?
-
Boneless, occasional cuts — yes. But it isn’t designed for protein: no tip for trimming, and the thin edge chips on bone or cartilage. Pair it with a gyuto or santoku for meat. See Nakiri vs Santoku.
- Why does my nakiri stick to vegetables?
-
Tall thin blades create suction on wet, starchy slices. It’s normal. Hammered (tsuchime) or Damascus finishes reduce it, a slight forward push during the cut helps, and so does letting slices fall away rather than stacking them against the blade.
- What’s the difference between using a nakiri and an usuba?
-
The motion is similar, but the usuba’s single-bevel edge steers toward its flat side and demands trained correction — it’s the professional’s tool. The double-bevel nakiri tracks straight on its own. Full comparison: Nakiri vs Usuba.
This article contains affiliate links. If you purchase through our links, we may earn a small commission at no extra cost to you.